0 Comments
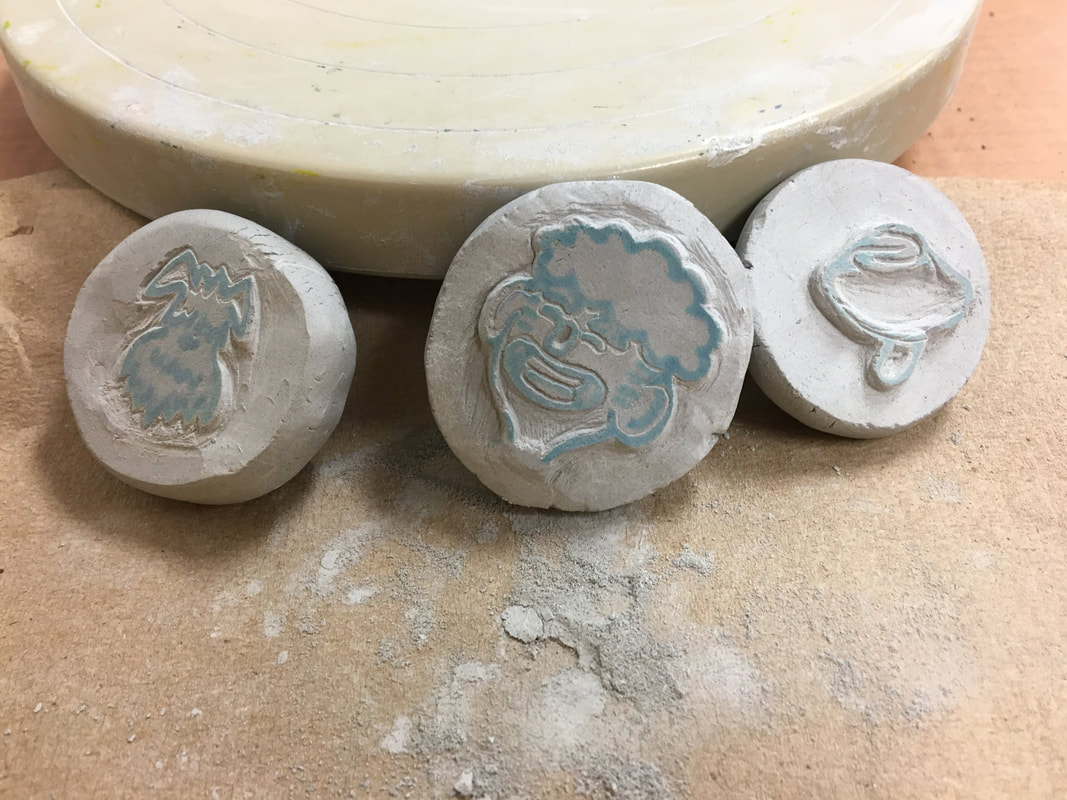
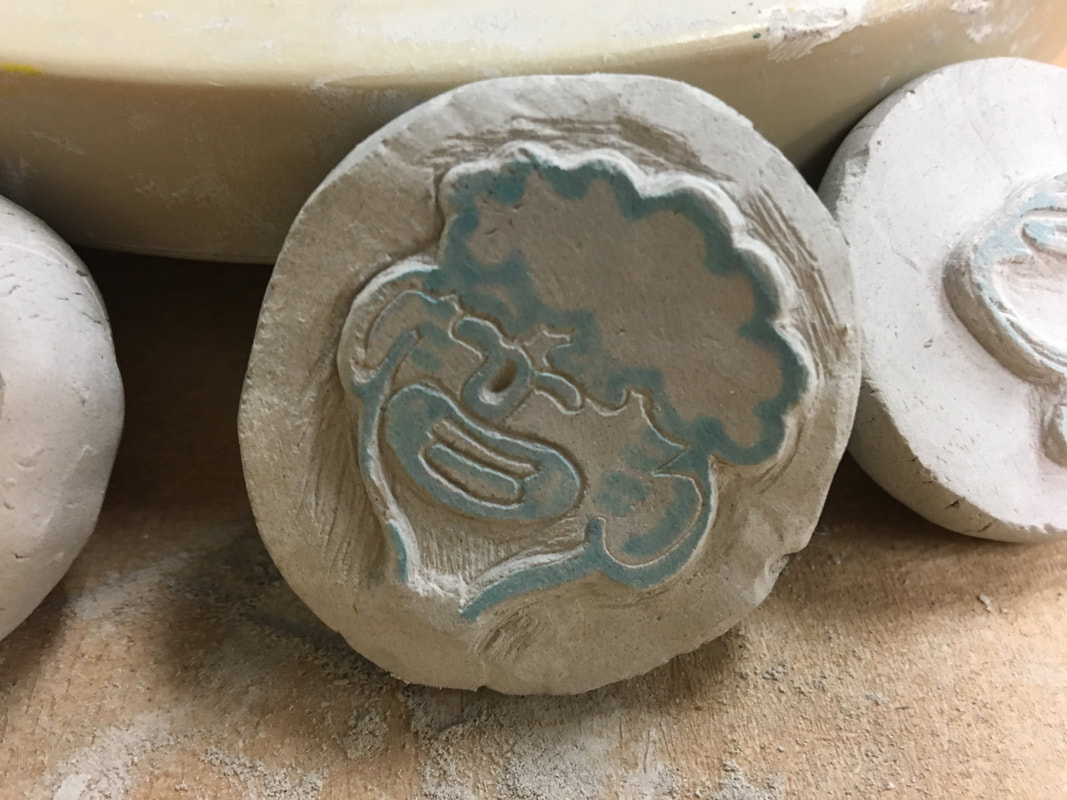
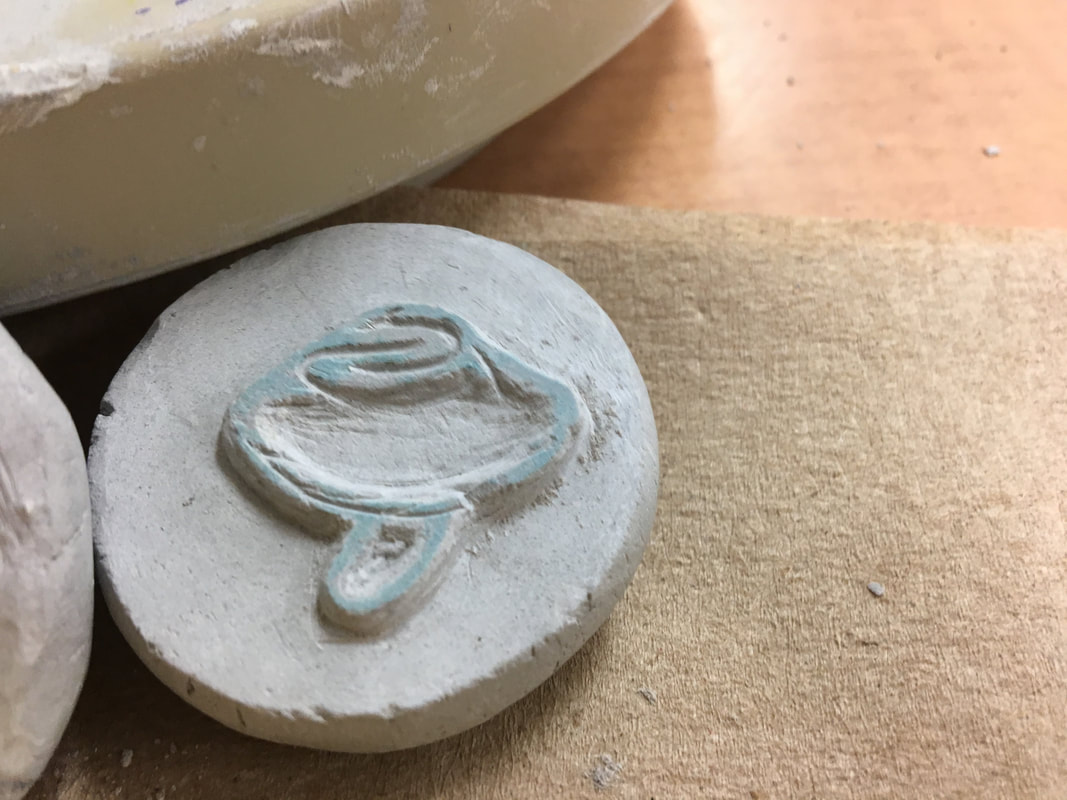
1a. I was inspired by "Game of Thrones" and how each house has their own sigil. It is the sigil of house Torres Correa
2a. I drew my design, rolled a slab and cut a circle shape, i used a dull pencil to transfer my drawing onto the clay, then i painted it with black glaze 1b. I drew my design, rolled a slab and cut a circle shape, i used a dull pencil to transfer my drawing onto the clay, then i painted it with black glaze, then i carved out the parts that i wanted to be white. Then i fired the circle and put clear glaze over it. then i fired that again and it's done 2b. Overall the process was easy but the hardest things were transferring the drawing onto the clay and actually carving it out 3b. My piece was successful because of the strong contrast between the white clay and the black glaze. If i were to redo my piece i'd really focus on cutting clean lines. 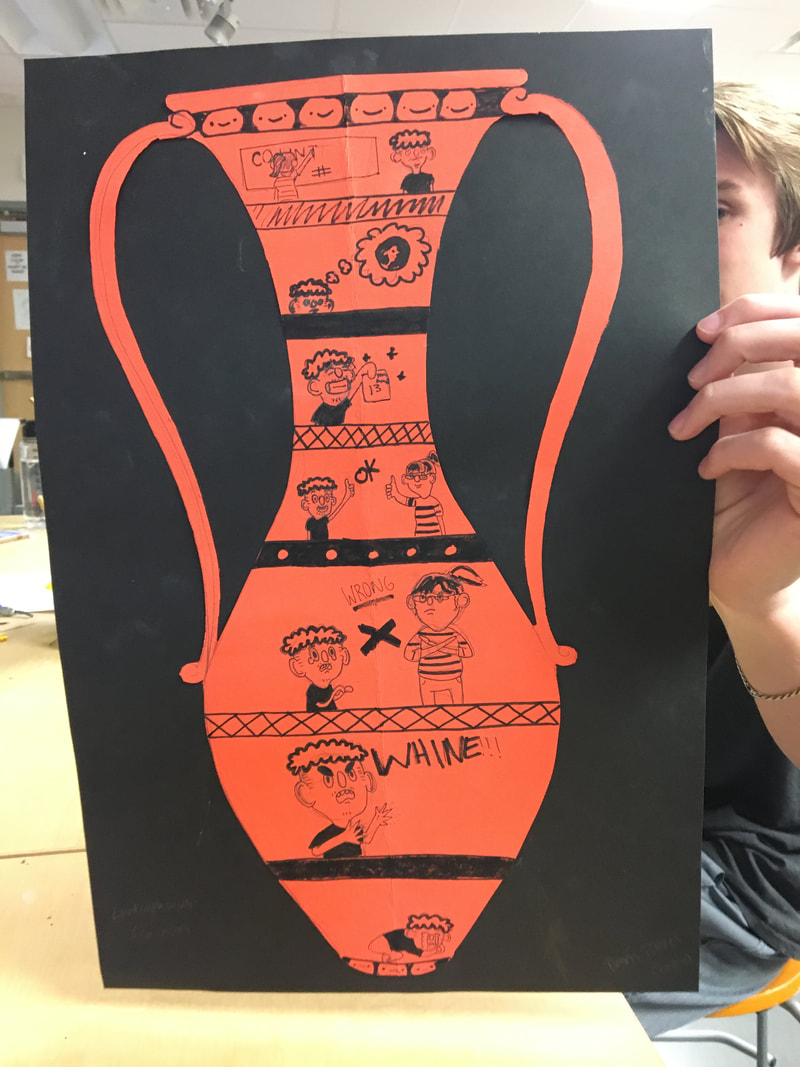 1. loutrophorus is a vase that was used to hold and pour wine back in the day
2. I made everything myself in this piece 3. Scratching the surface of a piece to reveal a different color underneath, in this case it was to say a story. Registers are the horizontal lines through the piece that separate the parts of the story, sometimes they are just black lines or decorated.
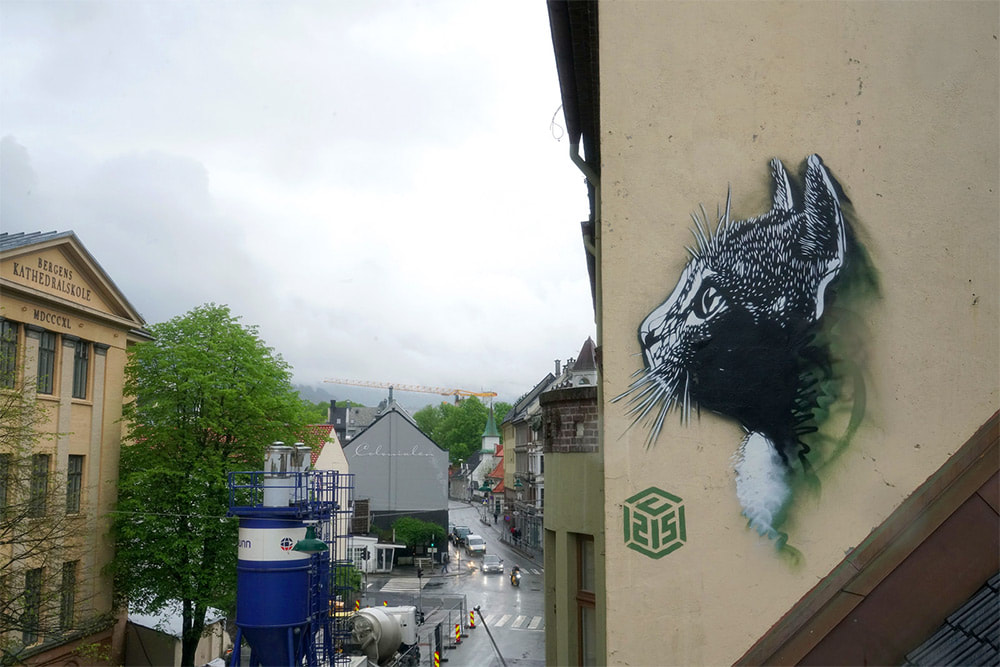
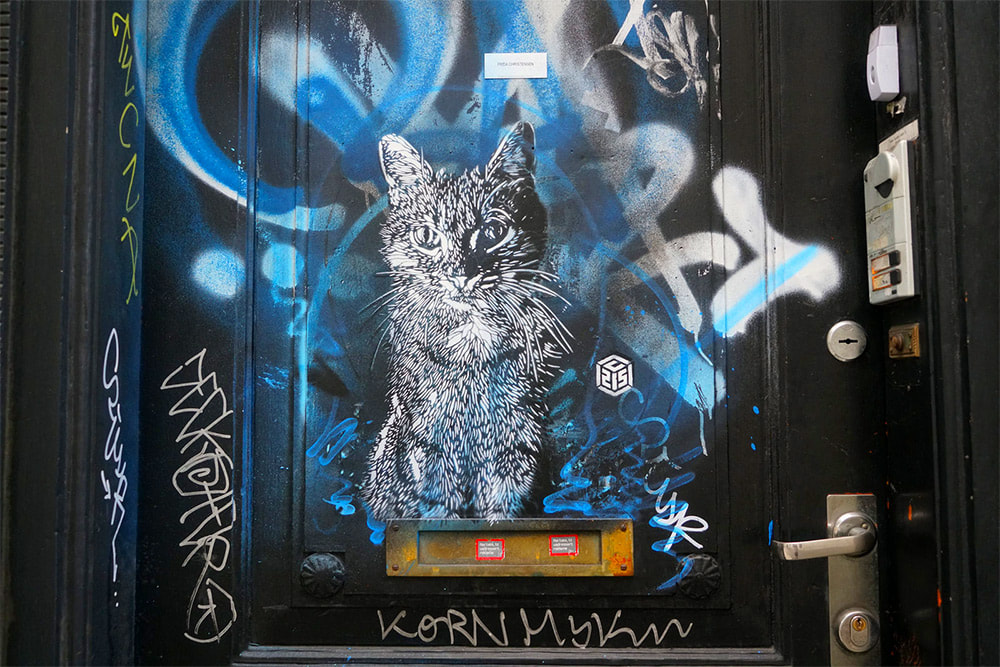
1. Name: Christian Guémy, also goes as C215, was born in 1973 in Paris and still lives and works there, he works today with stencils and spray paint and is considered won of finest and most productive stencil artists today. He says his work is to show the side of the world that the media doesn't like to show.
2. his website : http://c215.fr/C215/HOME.html 3. What makes his work so inspiring to me is that he isn't restricting himself to paper and pencil but going out and showing his opinions on things like the homeless problem and kids in poverty. What draws me in is how and where he chooses to place his art. Street art is a really big influence on me and I like it a lot.
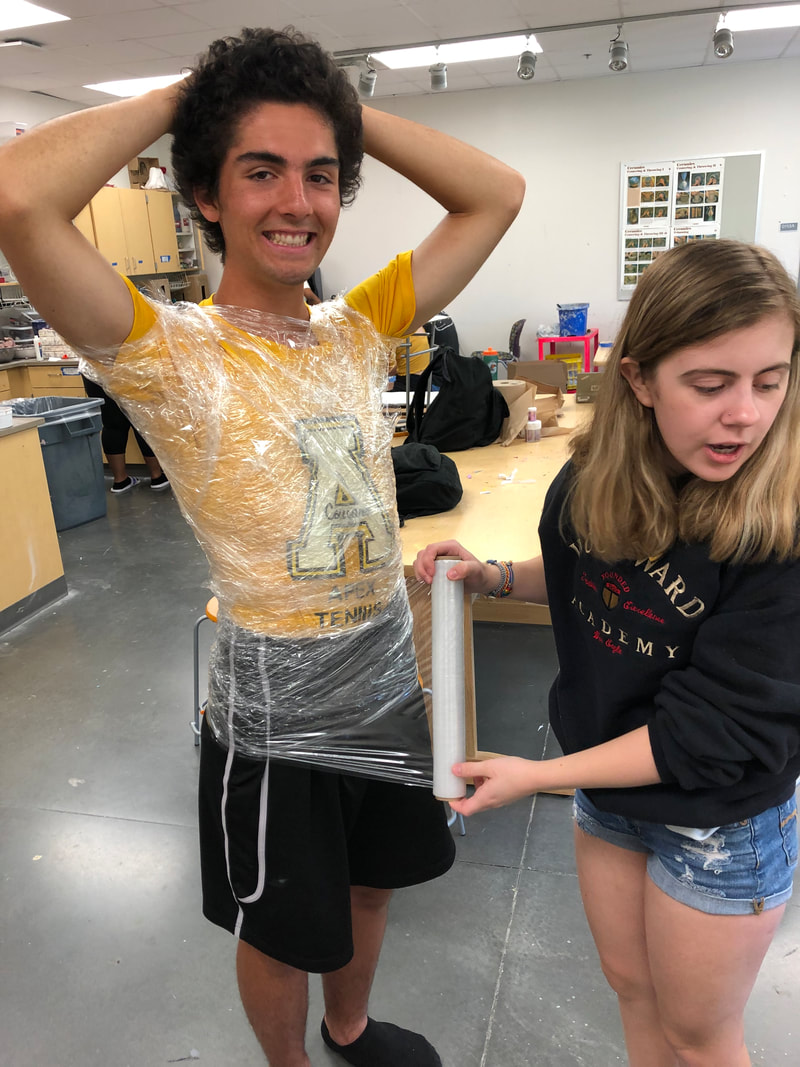
I wasnt at school for the in progress picture day, so i hope you enjoy this good ol' plant holder
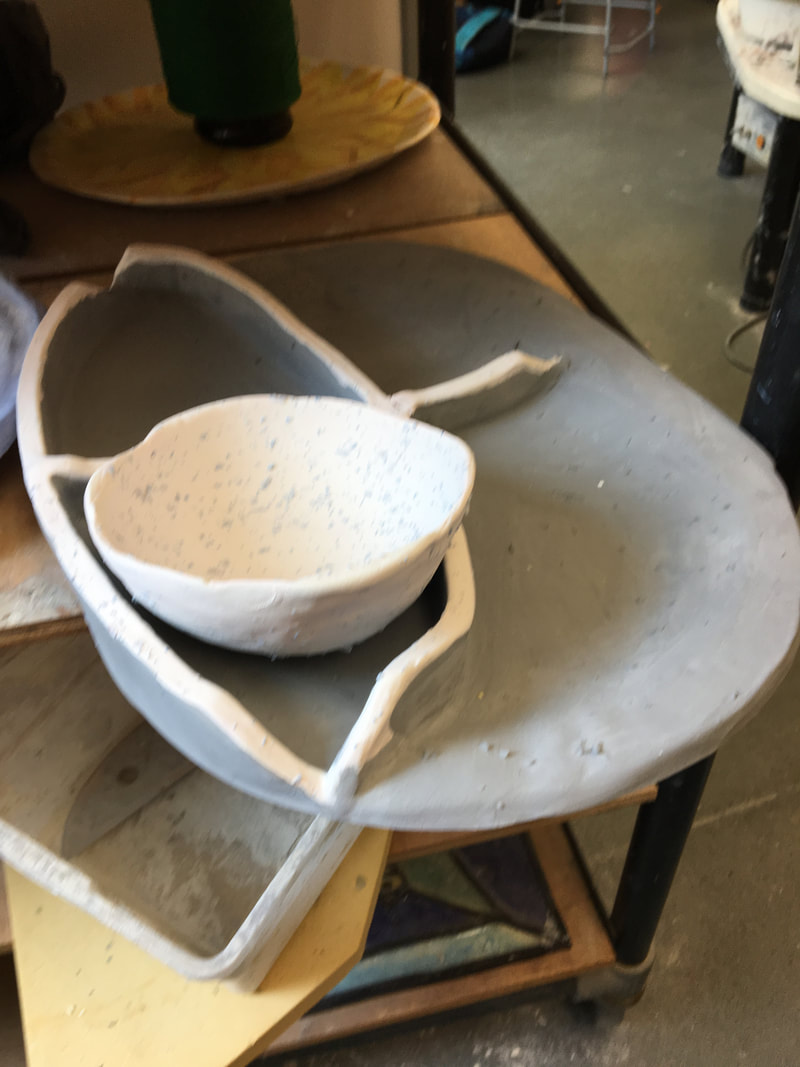
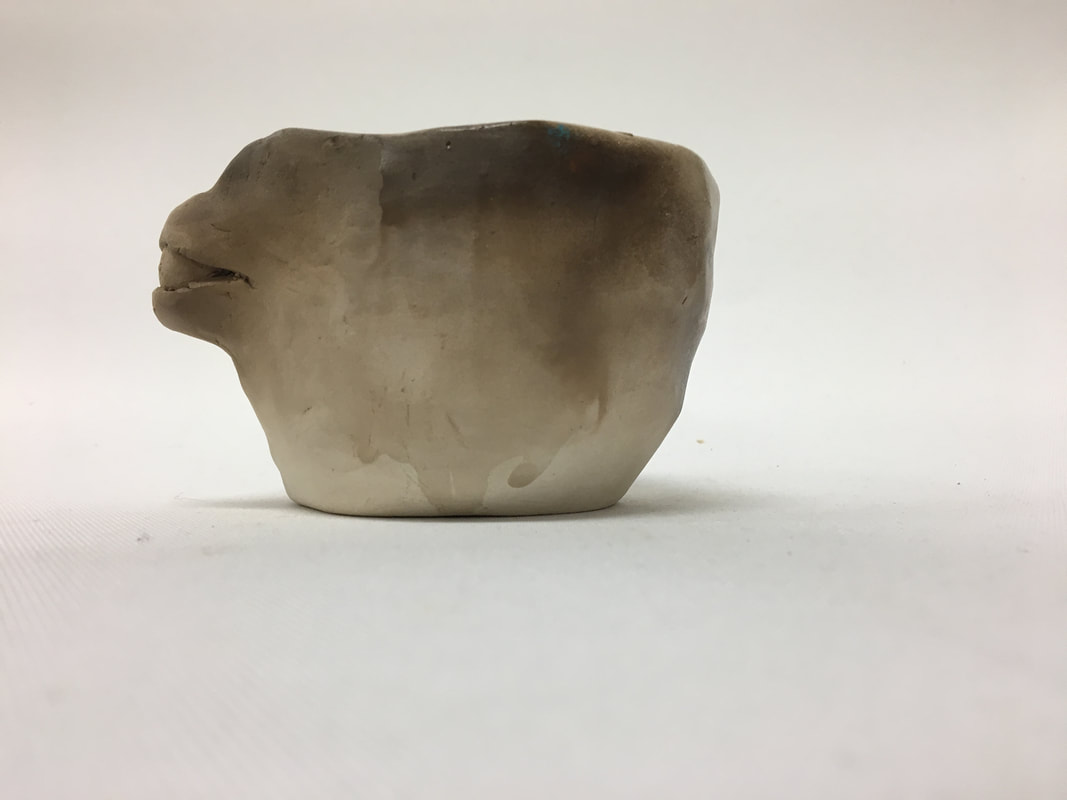
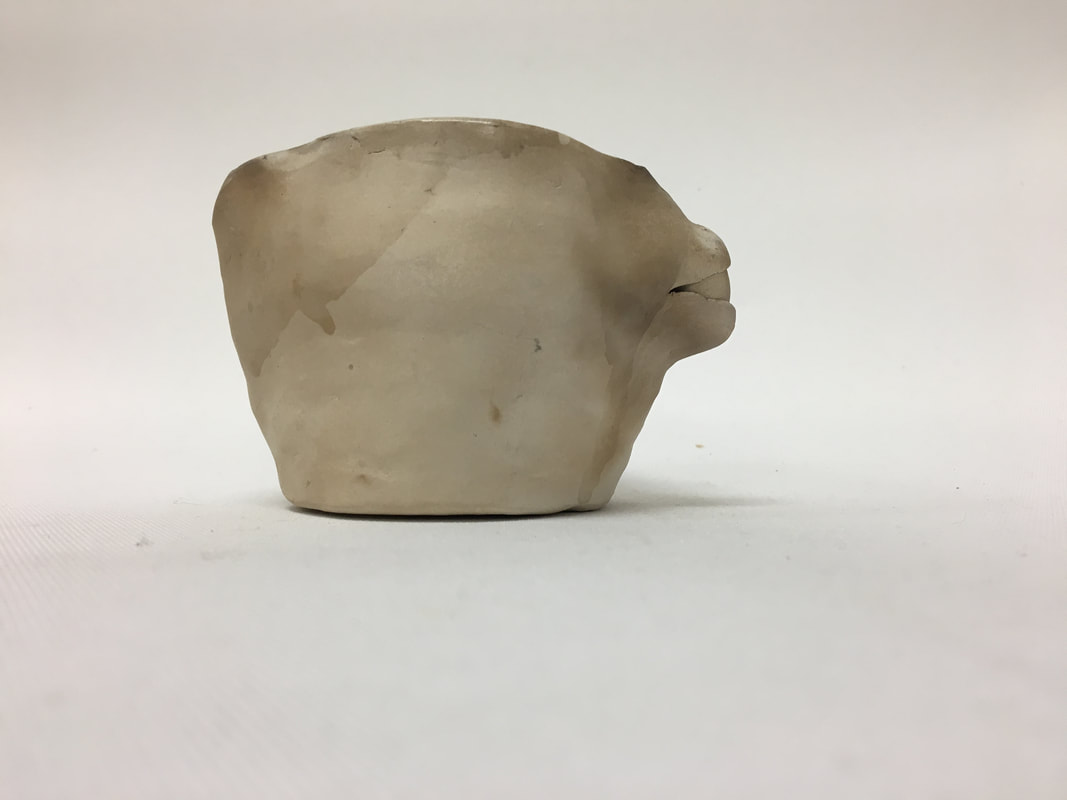
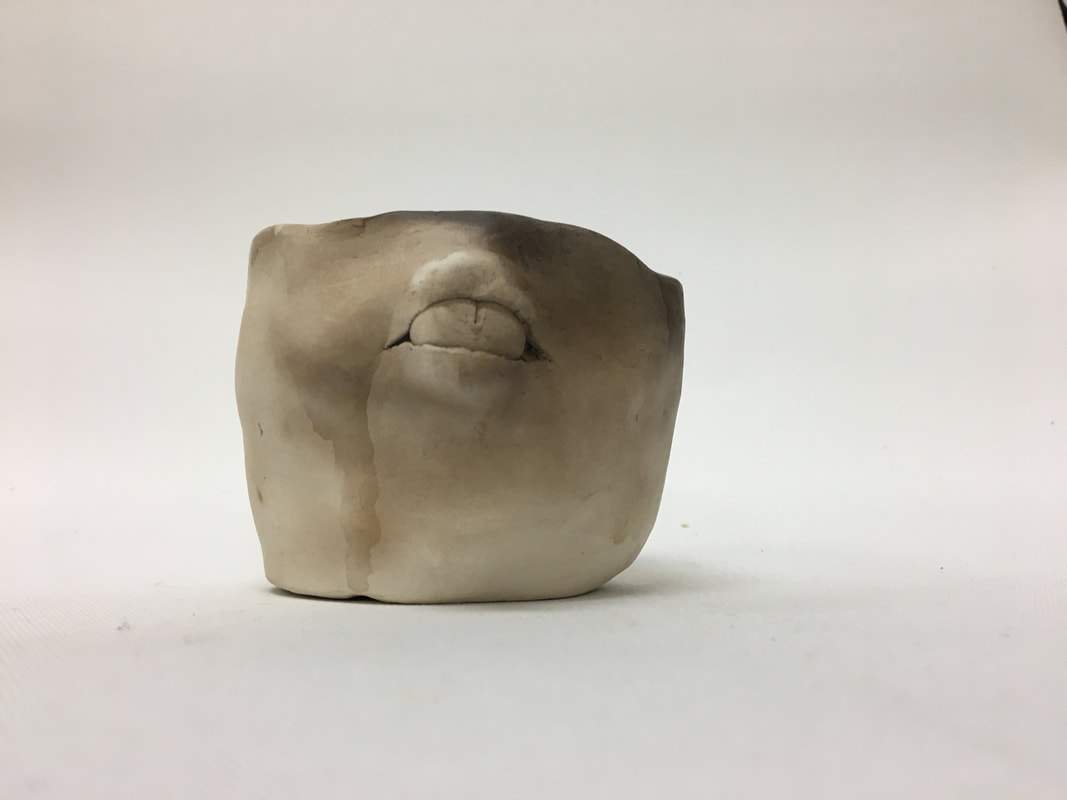
IN PROGRESS 1. I rolled out a slab of clay that i was gonna use to make the coils. I cut lines of clay out that were as thick as my thumb. i rolled them like a snake, then i scored and slipped the coils together until it made the shape i wanted. then i fired the piece and prepared it for the pit by rapping it in aluminum foil and filling it with things to burn to add color. 2. It has hard because i started one day then tried to finish it the next day, but attaching the new clay to the old clay was hard so i had to start over. 3. I want to add red to it, i feel like red would look cool. my design has changed a lot, it turned into a plant holder with an eyeball on the side. FINISHED 1. Once everything is fired I painted on an acid that would produce a really vibrant color and put it in a saggar which is an aluminum wrap around the piece and filled it with things to burn and add color. 2. I think my piece is succesful because it came out in the shape i wanted, but id change it by adding things to burn to give it more color, it came out dull. 3. i burned dog food, rabbit food, pop rocks, grass, tea bags and salt
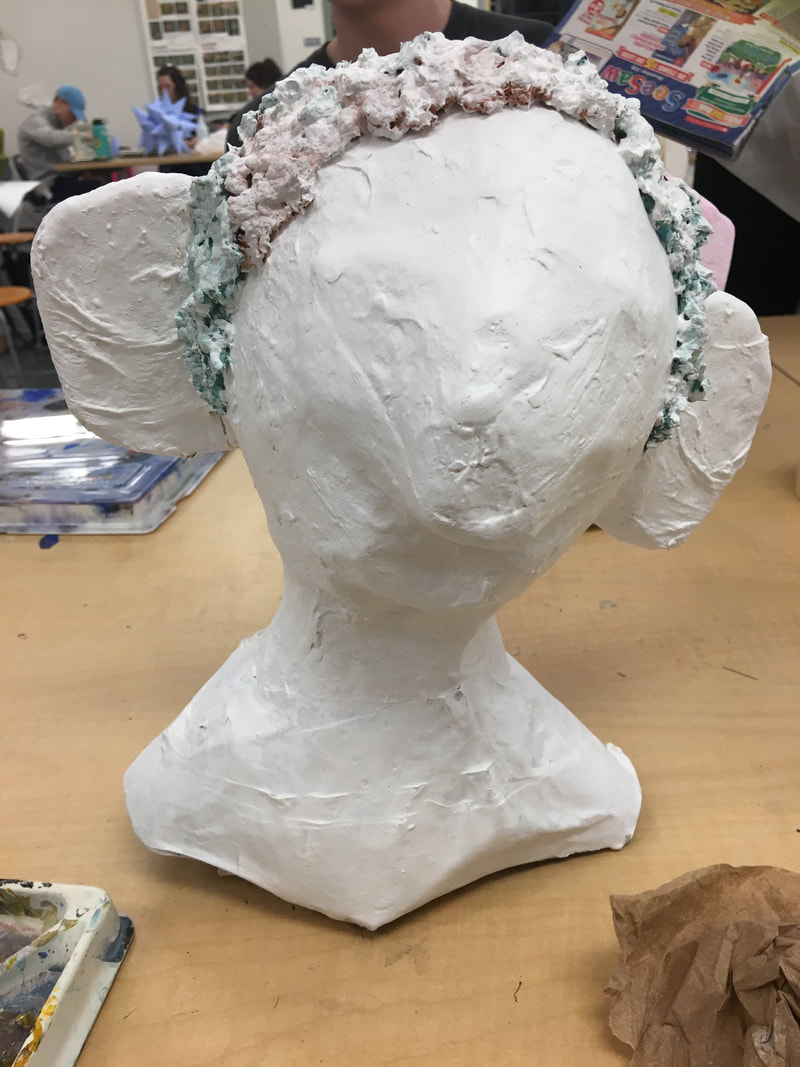
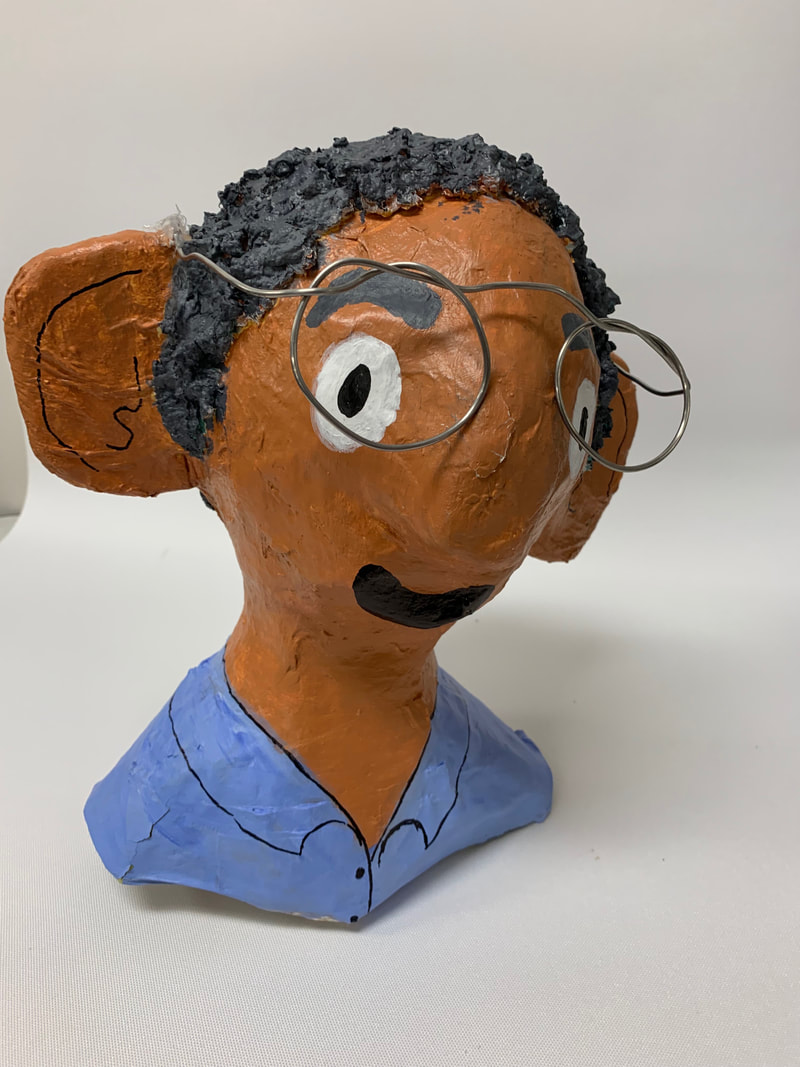
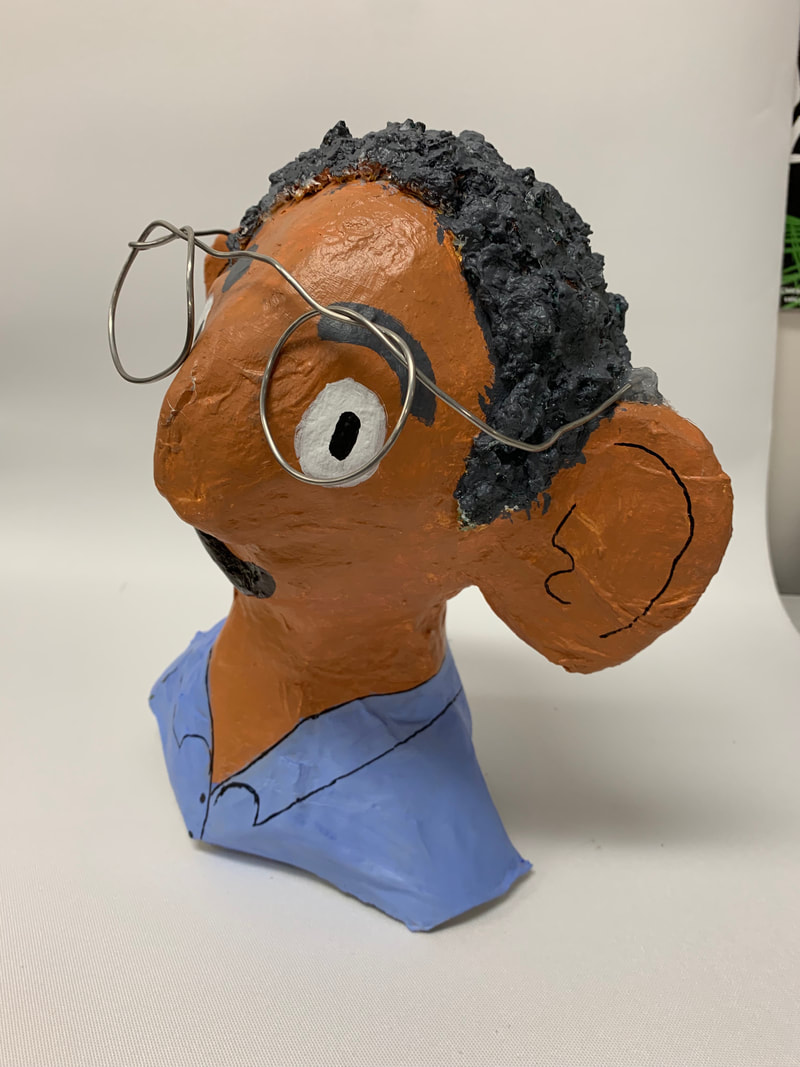
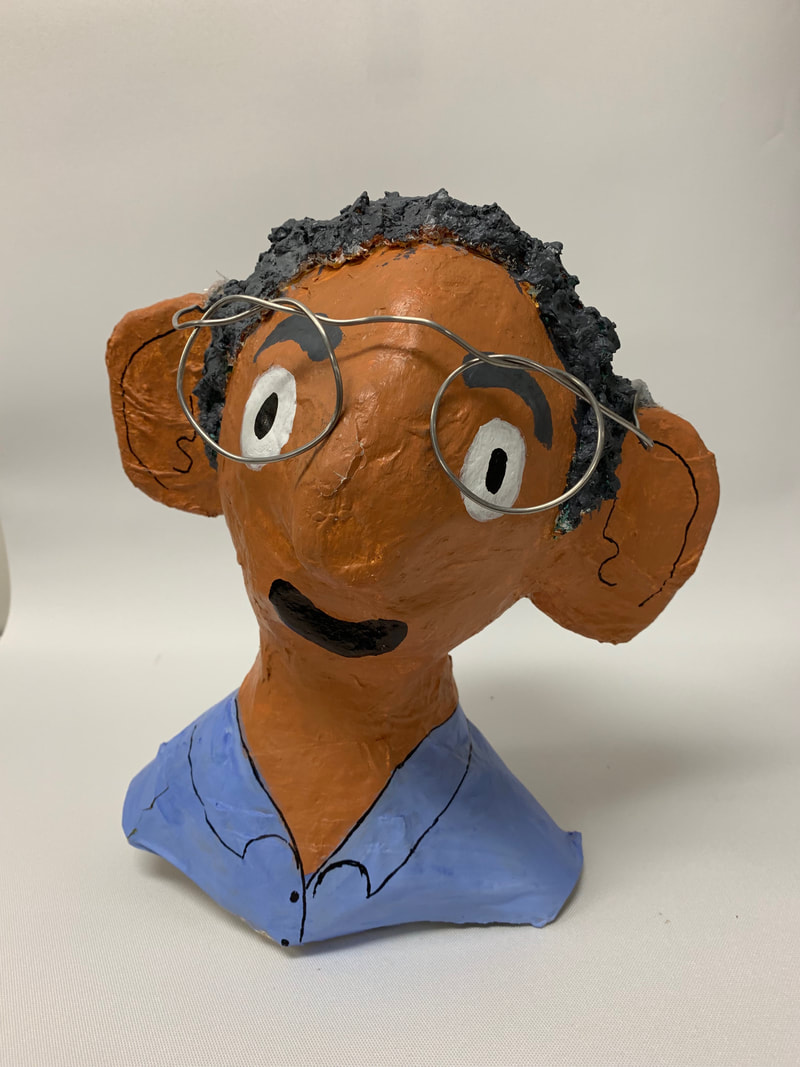
1. paper mache is the worst. First you create the base that you're going to layer the paper mache on by using tape, aluminum foil and newspaper. Then you make a glue kinda thing by mixing flour and water together, then you take strips of newspaper and put them on the base. then you let it dry then paint it. if you're lucky it might actual smell decent.
2. I feel like my piece is successful because it actually looks like what I set out to make, me but when i'm 60. 3. The most difficult thing about this piece was trying to work through the stank of how horrible my little guys hair smelled. I don't know what happened but it smells absolutely terrible. 1. First I made a clay slab by putting my clay through the slab roller, then with my new I cut out the biggest rectangle that I could. I scored and slipped the ends on the slab together to make the cylinder shape. Once I had the shape right I pinched the bottoms to make the tripod legs for the mug. I carved the characters into the side of the mug then made the handle to look like pickle Rick. I attached the handle then put it in to fire the first time. Once it came out I applied the glaze and put it in to fire again. 2. I made my handle look like pickle Rick. I made it by creating the shape I wanted while the clay was still wet then let it dry into that position. 3. I really like how the background behind the characters came out. What I didn’t like about my piece was that the lines around the characters didn’t come out as clean so I’d try to make the lines clearer next time. 4. When clay is rolled into a thin slab. 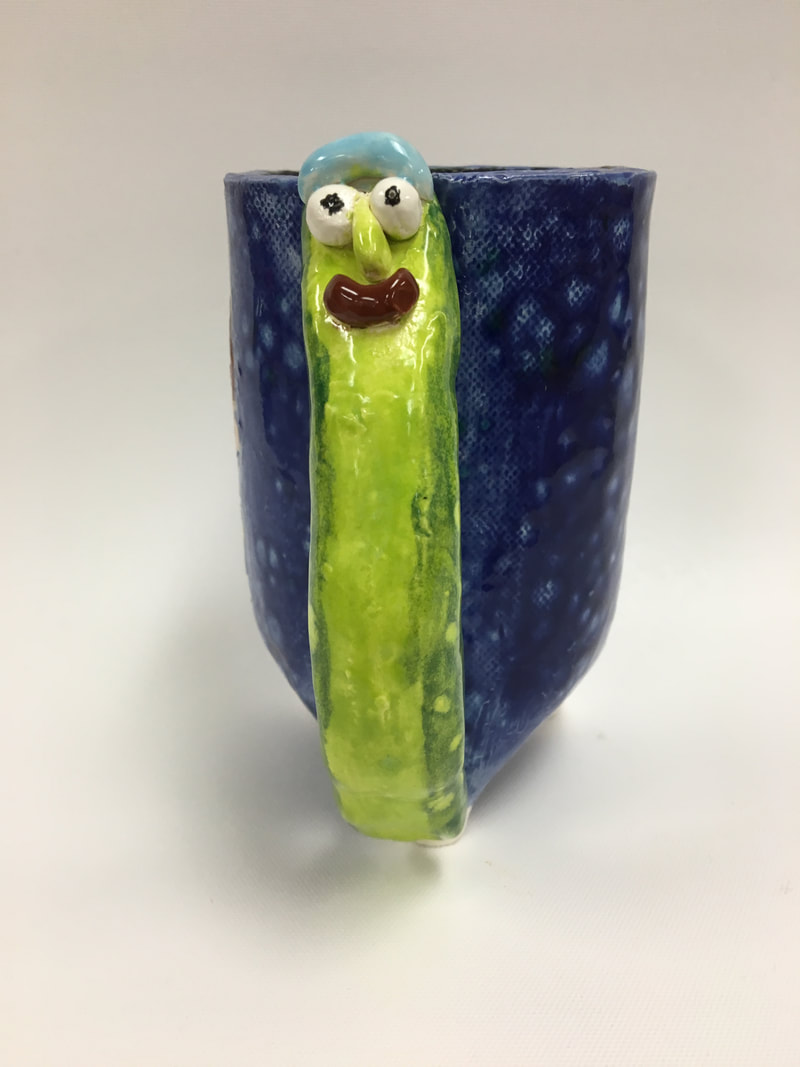 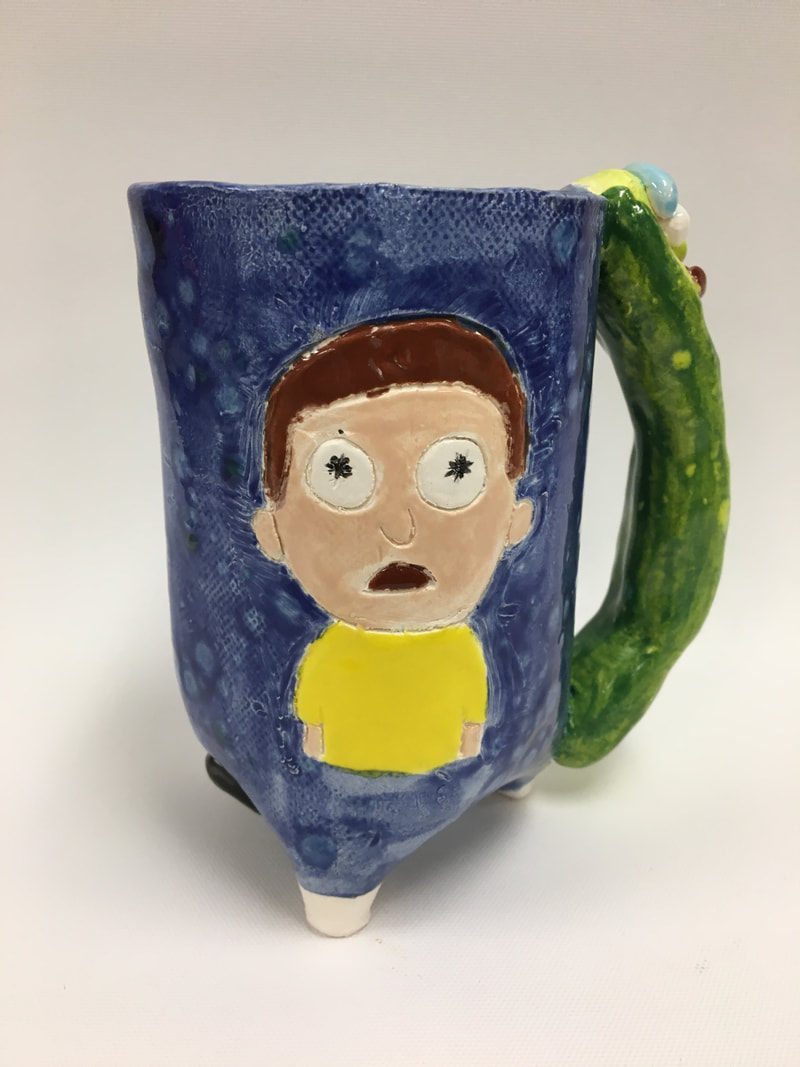 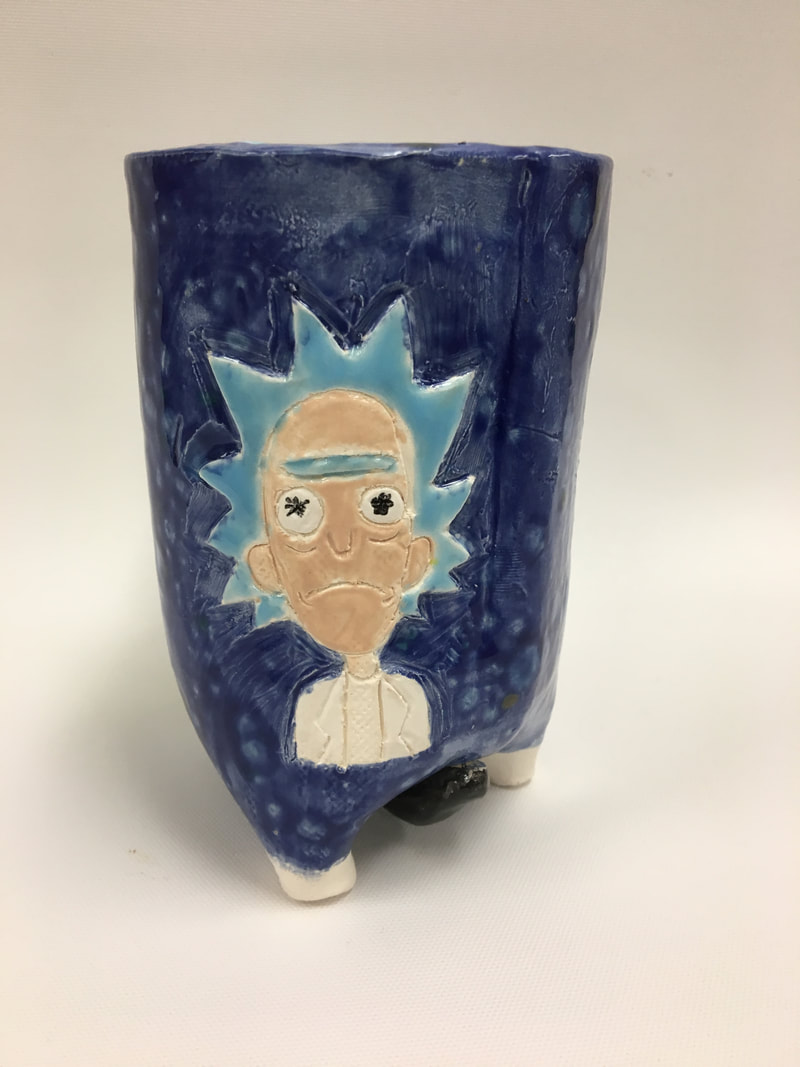 |